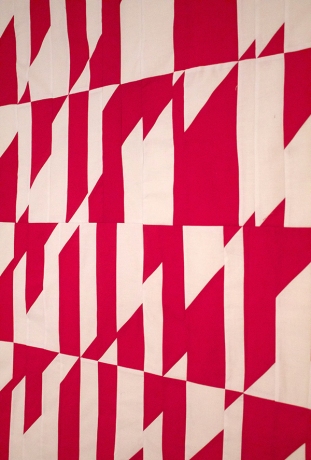
Information reprinted with permission from Scott G’s Kept in Stitches blog. Go to Scott’s blog for lots of other interesting quilt-related stuff! And see more tutorial from our members on our Tutorials page.
Supplies
Eight 10″ squares of two different colors (total 16 squares.) High contrast is key to making this block work.
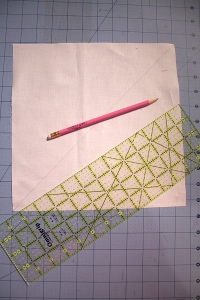 Step 1:
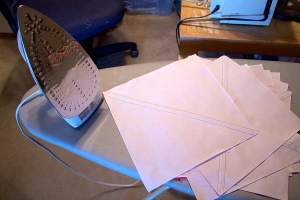
On each light square, draw a diagonal line, from corner to corner. I’ve lightly drawn the line using a pencil, but you could use any type of fabric marker.
 Step 2:
Match one light 10″ square with one dark 10″ square, right sides together, and sew a scant 1/4″ seam on each side of the drawn line. Repeat step 2 with all of the sets of squares.
 Step 3:
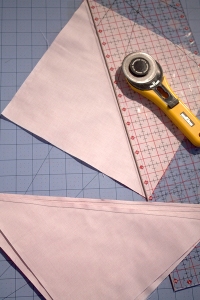
Cut each of the sets of squares on the diagonal line you drew in Step 1. Step 3 should yield 16 half-square triangles (HST). Press each of the sets with the seam allowance to the dark fabric.
Step 4:
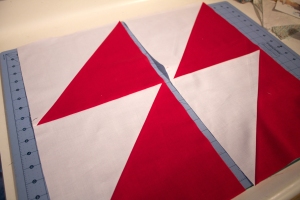
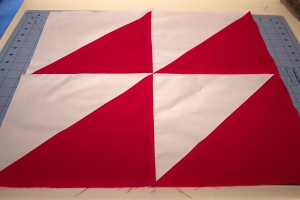
Join two of the HSTs as illustrated. Repeat with all pairs, yielding 4 sets. Notice the orientation of each of the squares…they should all go the same direction.
 Step 5:
Join two pairs of HST units to make one large four patch. Repeat with other pair yielding two large 4 patches.
 Step 6:
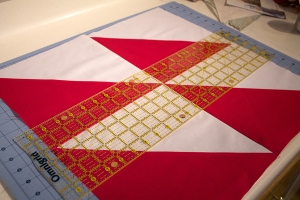
For the next step, use the center of the block as the “mid-line”.
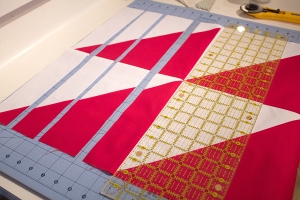 Step 7:
Using the mid-line, make 3 cuts of varying widths across one side of the block.
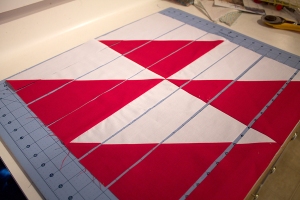 Step 8:
Repeat Step 7 on the other side of the mid-line of your block. This will yield 7 strips of varying widths. Repeat Step 7 and Step 8 on the other blocks.
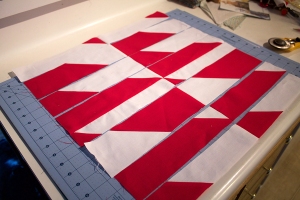 Step 9:
Rearrange each set of 7 strips until you’re happy with the design. Note: The previous mid-line of your block doesn’t need to stay in the center…move all the strips around until you like it.
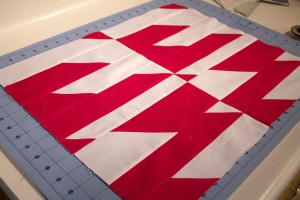 Step 10:
Sew each of the 7 strips back together to re-assemble your blocks. The blocks will no longer be square.
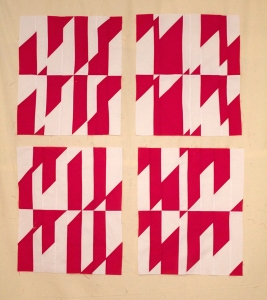 Step 11:
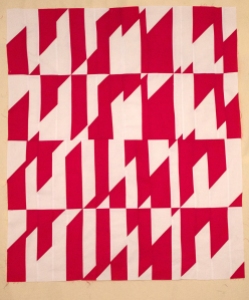
You will have 4 different large blocks. Sew each of the blocks together to make you’re finished quilt.

